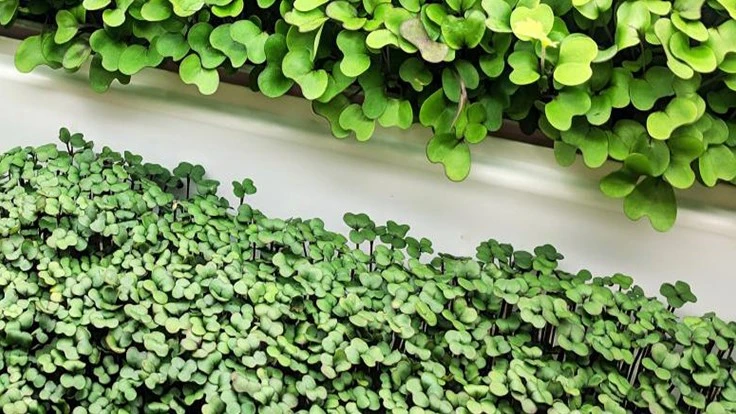
Photo courtesy of CropKing
Are you interested in growing microgreens indoor year round, or for the winter months? This post will help you make the right decisions while growing healthy and nutritional microgreens. Microgreens are most commonly harvested from leafy greens such as kale, arugula, radish greens and herbs. The taste of microgreens depends on the original vegetable. Microgreens have a very strong and concentrated taste of the original vegetable. This means that cilantro microgreens will still taste of cilantro, but with a stronger taste and condensed format.
Here are your instructions:
1. Get a 10 x 20 tray or container. 10 x 20 trays are the best, but my personal favorite are those clear plastic salad containers with a lid. It’s a little harder to harvest, and you may not get ideal air flow, but the lids are nice for keeping the seeds moist while in the germination stage.
2. Get a growing medium such as bio strate, burlap or soil. Pre-moisten your growing medium by soaking in a 5 gallon bucket or a big bowl. Keep the medium soaking for a couple of hours.
3. Place the growing medium in the tray and make sure to flatten the medium with your hands.
4. Sprinkle seeds over the top of the medium. Don’t worry about spacing. You’ll be harvesting so soon that a nice little carpet is what you’re going for. For best results use a spice shaker to spread the seeds evenly.
5. Spray your seeds with a spray bottle or water lightly and then spray the inside of your humidity dome. Cover your tray with the humidity dome and place in a dark location. Covering the tray helps keeps in the moisture, and the darkness helps the seeds to germinate.
6. Remove cover after seeds sprout, which should take a few days. Remove the cover and place in front of a sunny window sill.
7. Carefully water your microgreens. The best option is to bottom water, which is setting your tray with drainage holes in a sink of water and letting the microgreens soak it up. If you top water, be careful not to flatten the tiny greens.
8. Cut your microgreens with a sharp knife, most are delicious after they develop their second set of leaves, and are about 2 inches tall.
9. Eat your microgreens! You can eat them on sandwiches, in stir fry, on pizza, in green smoothies, in salads, or as a garnish or other ingredient.
Latest from Greenhouse Management
- Terra Nova Nurseries introduces rust-free and disease-resistant heucherella
- John T. Nickel, founder of Greenleaf Nursery Co., passes away at 89
- Three tours offered at 2025 Farwest Show
- Garden Media Group announces sixth annual Women in Horticulture Week
- Star Roses and Plants announces National Knock Out Rose Day
- The Growth Industry Episode 4: How federal budget cuts are affecting horticulture nonprofits
- The thrips battle plan
- Pennsylvania Horticultural Society shares top gardening trends from 2025 Philadelphia Flower Show


